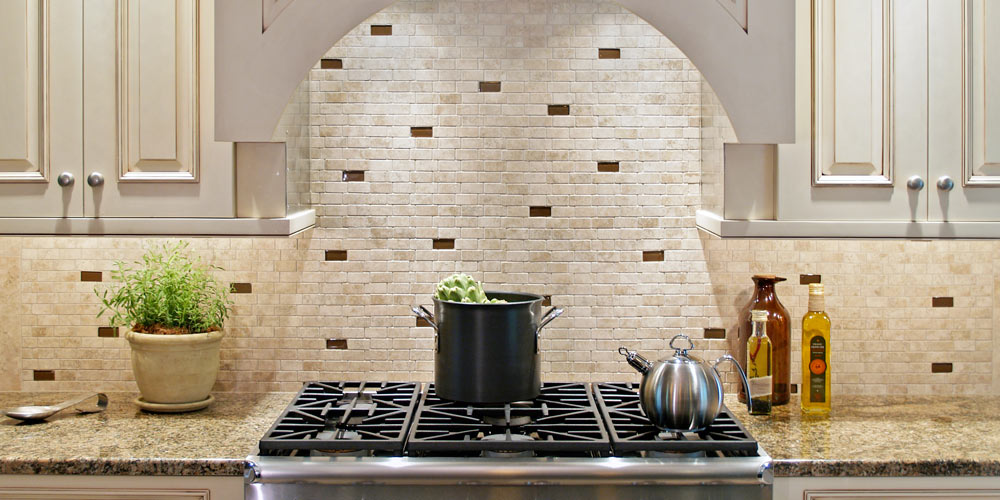
How to Repair Drywall for a Kitchen Backsplash
You’re remodeling your kitchen and you want to install a new kitchen backsplash.
Your first course of action? To remove the old backsplash. In the course of taking off all that old tile, you could find that the drywall beneath the tile becomes damaged. Before you can install tile for a new kitchen backsplash, you must first take care of the drywall where the backsplash will be installed. Since imperfections like an uneven surface can negatively impact the installation of the tile, the repair process is crucial to the success of the project. Luckily, drywall is relatively easy to fix.
Materials
- Joint compound
- Skim coat
- Drywall knife
- Hand sander
- Vacuum with attachment
- 3 or 4 clean rags
- Primer sealer
- Paint brushes
Process
- Use the drywall knife to fill all gouges with joint compound. Make the surface of the gouges even with the surface of the drywall.
- Use the drywall knife to install a skim coat over the top of the drywall. Use the drywall knife to smooth out the skim coat, but don’t get too picky about the evenness of the drywall. You’ll be sanding the skim coat soon, which will allow you to even out the surface of the drywall further.
- Sand down the skim coat until the surface is smooth and without bumps. Use a sanding block for this purpose. Start with a coarse grit sandpaper, then move up to a fine grit if it’s called for.
- Clean the wall. Use your vacuum attachment to suck up the dust from your sanding activities in step 3. When the majority of the dust has been removed, use a clean damp rag to wipe down the wall and remove the remainder of the dust. When this is done, use one of the remaining rags to dry the wall.
- Seal the wall with primer sealer. Use a paintbrush to paint the wall with primer sealer. This will help protect the drywall from moisture leaks.
Wait until the primer sealer is dry (meaning that it is no longer tacky to the touch) before installing the tile backsplash.
Was that useful? Tell us your ideas!
